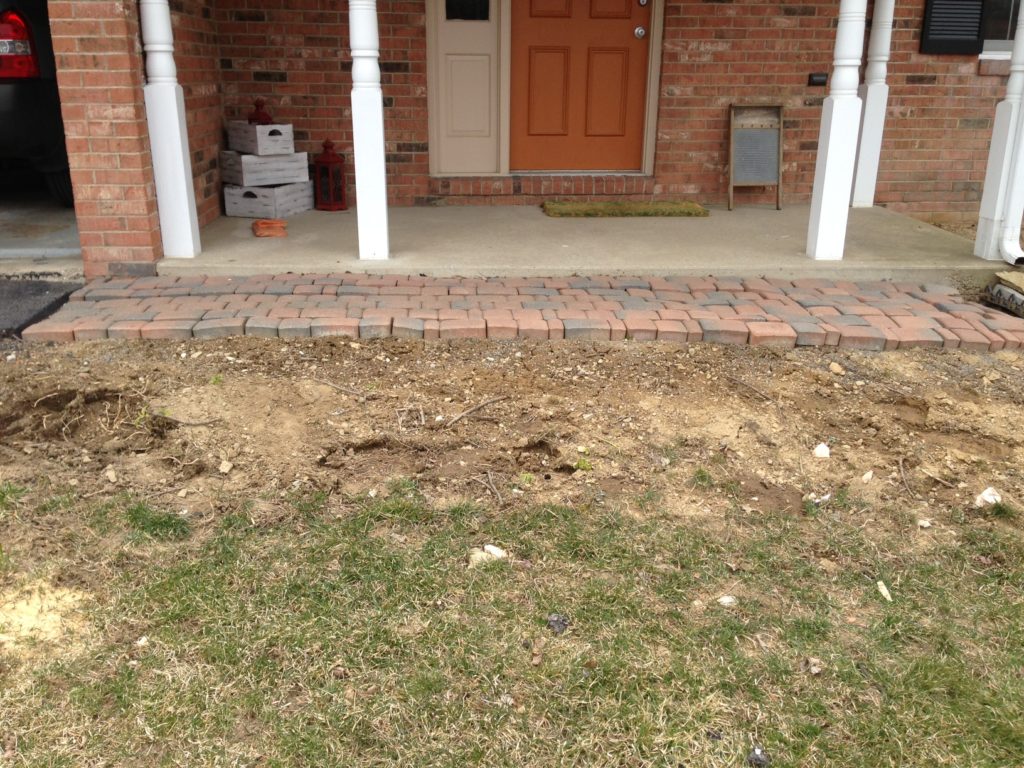
I recently started a project to improve the landscaping in front of my house. The first part of this process for me was installing a new paver walkway. The previous owners had pavers setup around the front porch, but it was really awkward and didn’t really feel like a walkway. To top it off, they had pachysandra ground cover growing through the pavers and all around the front of the house. I’m not a big fan of the pachysandra, so that was one of the first things I got rid of when I moved into the house! I wish I still had pictures of how the walkway originally looked with the pachysandra, but I lost all of the photos from my old iPhone. However, I do have one of the original pavers after I removed all of the pachysandra.
As you can see, something definitely needed to be done! The pavers weren’t level and it was driving me crazy! The dirt is where I removed all of the pachysandra and will be what I work on after the walkway.
I live in an area where all of the soil is clay, so it was really important for me to put in a solid base for the new walkway. In fact, I probably went a little overkill, but I just wanted to do the job right! For my base, I dug out about 8 inches of clay and filled it with crushed limestone. Unfortunately, I don’t have a truck so I had to make multiple trips pick up the crushed limestone in buckets. As I filled in the base, after every inch I tamped down the crushed limestone using a hand tamper. Once I was close to level with the rest of the ground, I used paver sand, 2 pieces of PVC pipe, and a 2×4 to screed the sand level.
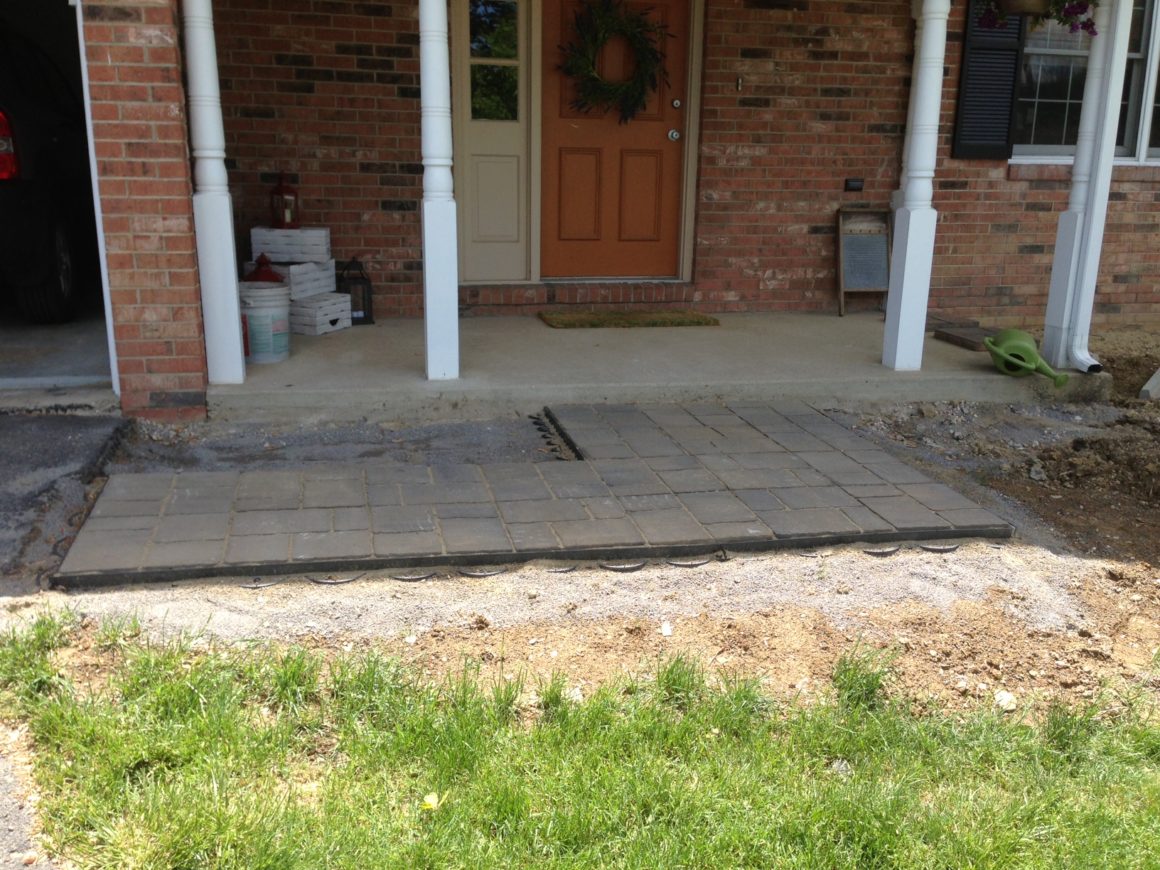
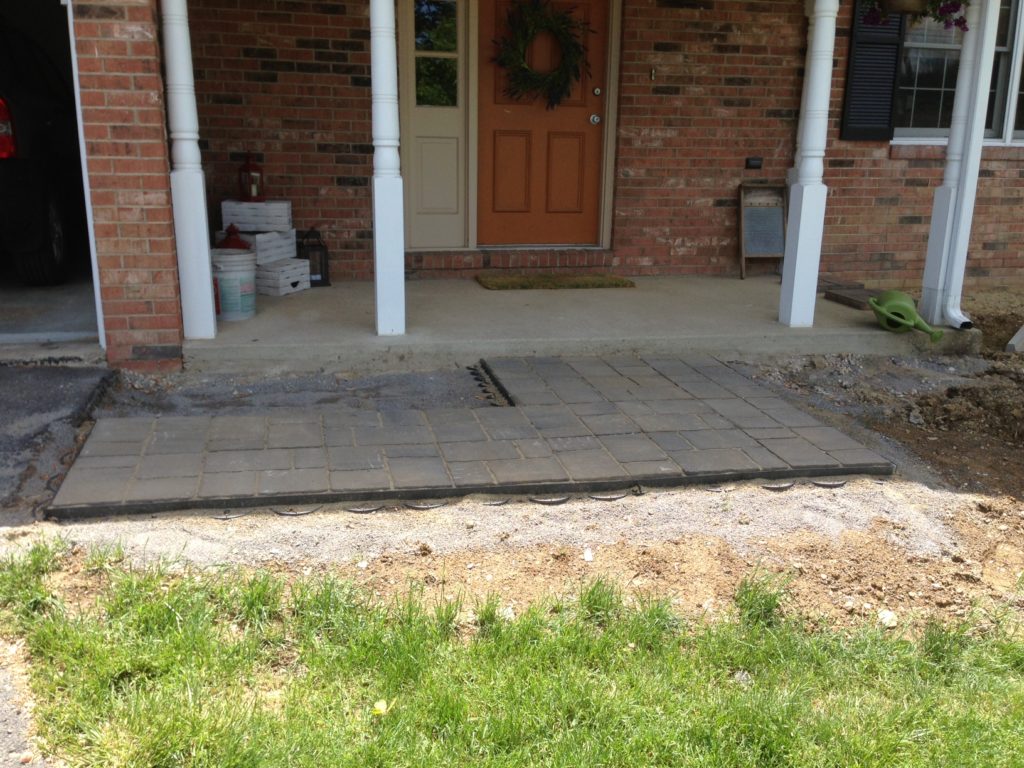
We decided to put in some cobblestone pavers that we found at Lowes for our walkway. The benefit to using these was that they were big and very easy to install. The bad thing about installing these was that they are very heavy to move around. After putting down the cobblestone, I put the paver restraints around the entire walk way to ensure that the walkway doesn’t shift. Finally, I put down polymeric sand to lock everything in place and keep out the weeds. In the end, the walkway turned out great and for a very reasonable price!
If you’re interested, here is a list of supplies used:
- allen + roth Cassay 16-in x 16-in Allegheny Four-Cobble Patio Stone
- Bulk crushed limestone
- Paver sand
- Plastic paver constraints
- Polymeric sand


Leave a Reply